Recording songs is fun, and these days, unlike in the earlier days of recording, you can record at home, for a fraction of the price. To record you will have to build a mini home studio, which is much less complicated than it sounds.
The home studio

There are many blogs on the topic of home studios. In all of them, you will see the same basic advice: when starting out, don’t invest a lot in your home studio. They normally suggest an initial investment of about a thousand dollars, including an audio interface, some sound muffling boards, microphones, studio monitors, headphones, a DAW software, etc.
In my humble opinion, if you are a beginner and your main goal is to experiment with recording your own music, you can start even smaller than that. When you’re just starting out, you’re not going to produce anything that has to be radio quality.
A couple of things you can leave out when building your home studio:
- You don’t really need to treat the room acoustically. If you are a complete beginner, have a decent microphone, you will be able to record yourself and will likely not hear a big difference between a room that is acoustically treated and one that isn’t.
- You can use decent headphones instead of buying speakers (aka studio monitors, which are speakers for music editing). Good headphones that block most of the outside noise will go a long way in keeping both you and your neighbors happy. If you’re on a tight budget, even decent phone earphones will do the trick.
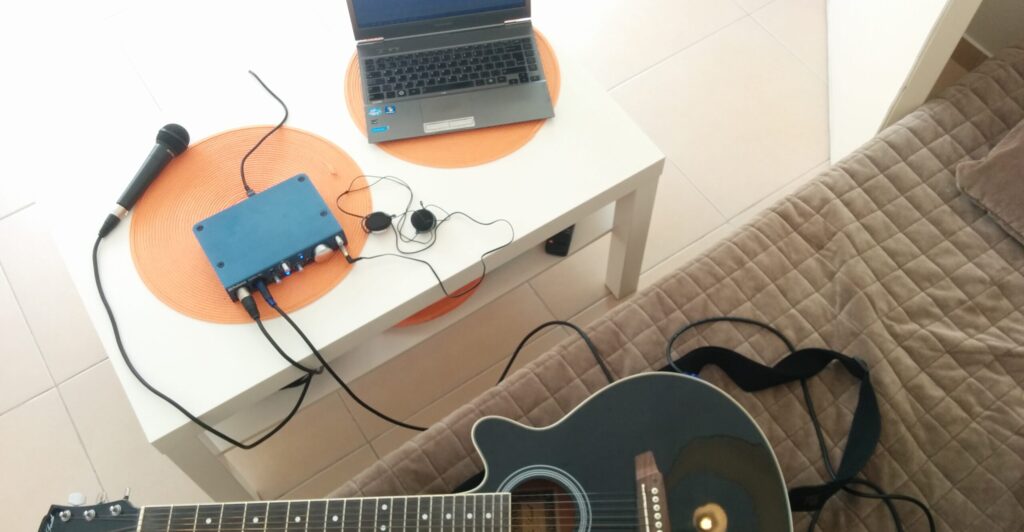
When I first started recording, I had a cheap acoustic guitar, cheap cables, and basic headphones. I also had a 20-year-old dynamic microphone I got from a friend who didn’t need hers anymore.
Audio interfaces
Audio interfaces are neat devices that allow you to connect your microphone/guitar/bass to your computer and get a high-quality recording. Technically speaking, they convert between analog (the sound signal you can hear with your ears) and digital signal (the signals the computer can understand). Full books have been written on the physics of sound conversion, which is beyond the scope of this post. What you need to know is that such devices convert sound signal into a format that you can perform multiple actions on – trim, enhance audio, add effects, export as mp3/wave/other, and more.

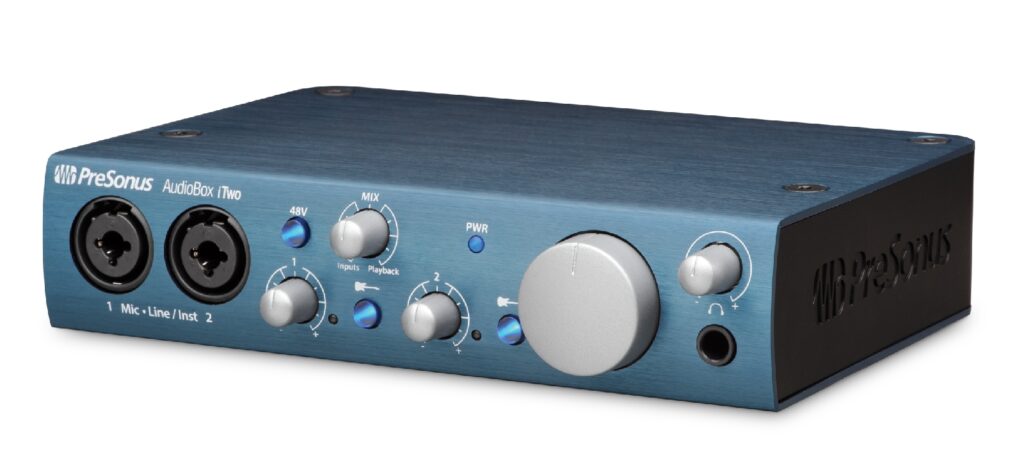
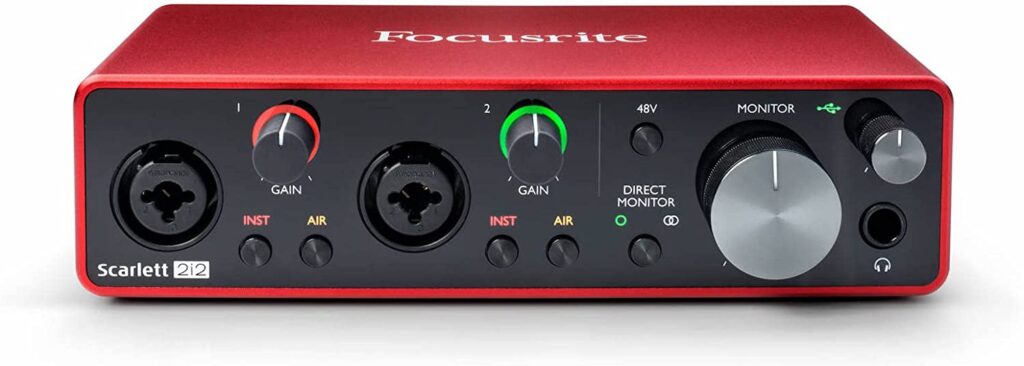
Audio interfaces come with a variety of features and range greatly at price, between $30 for the basic ones to $15,000 and more for professional ones. I have both Presonus iTwo and Focusrite 2i2 – why I have two is a long story, one is definitely enough. While there are differences between them, the bottom line is that both have very similar functionality, get the job done, and provide high-quality digital audio. By the time you read this there will likely be even cheaper options as technologies advance. If you want to choose one of the two I suggested, go with the Focusrite, as the gain knob on the Presonus iTwo is not sensitive enough (I bought mine six years ago, maybe they fixed it since).

A DAW – digital audio workstation
A digital audio workstation (DAW) is a music production software that allows users to edit audio. Simply put, DAW is the software that allows you to take the music you play or have in mind and create a file out of it, a software that has options much more powerful than your phone’s built-in recorder app.
DAWs, like other software, have a learning curve, and your ability to get comfortable with a DAW depends on your level of comfort with tech and new software in general, as well as your prior music experience.
There are quite a few DAWs out there, and quite a few articles online comparing the different DAWs to help you choose one. In almost all of these comparison articles you’ll come across the recommendation to not use Audacity, which is a basic, free, open-source DAW, and instead, to choose a more professional DAW. Well, even though I’ve read that piece of advice many times, I used Audacity for three years before I switched to another DAW.

For the first three years of recording, my need was mainly to record my musical ideas, and Audacity was a good solution. Almost all professional DAWs cost money, while Audacity is free. I later found out that there is a good DAW called Reaper which is almost free and is a good choice if you want something more advanced than Audacity but are not ready to spend around $400 for Studio One/Cubase/ProTools etc.
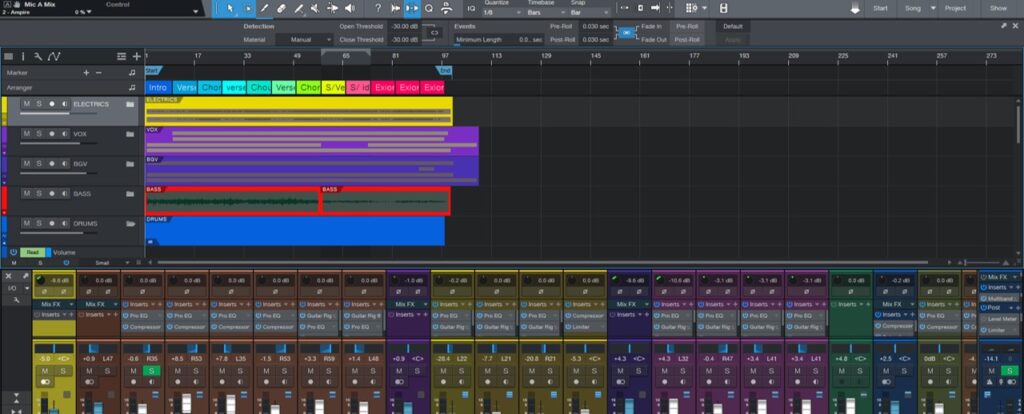
At some point, however, I became interested in learning music production, and came across articles that mentioned PreSonus Studio One as a recommended DAW, right next to the big names such as ProTools and Cubase. And since my Presonus hardware came with a free artist license, I decided to give it a try.
Today, after three years of using Studio One, I feel that it’s quite intuitive, and I am able to quickly record musical ideas and songs using it, even faster than on Audacity. The Presonus marketing play of giving out a free basic license paid off to them, as with time I found out that there were a few premium features that I was interested in, and ended up purchasing the premium version for about $400.
By the way, if you need assistance in cutting through the information clutter and buying any gear, check out my blog post how to quickly and easily buy gear (or anything else) on Amazon.
If you are new to your DAW or DAWs in general, it is a good idea to take a short online course – there are many free courses on YouTube and paid courses on Udemy. Find a course that is for complete beginners to your software, and includes a walk-through of the interface and some practical examples.
In the next post, we will look at the recording process itself.
1 thought on “A really low-budget home studio (song recording for beginners part #1)”